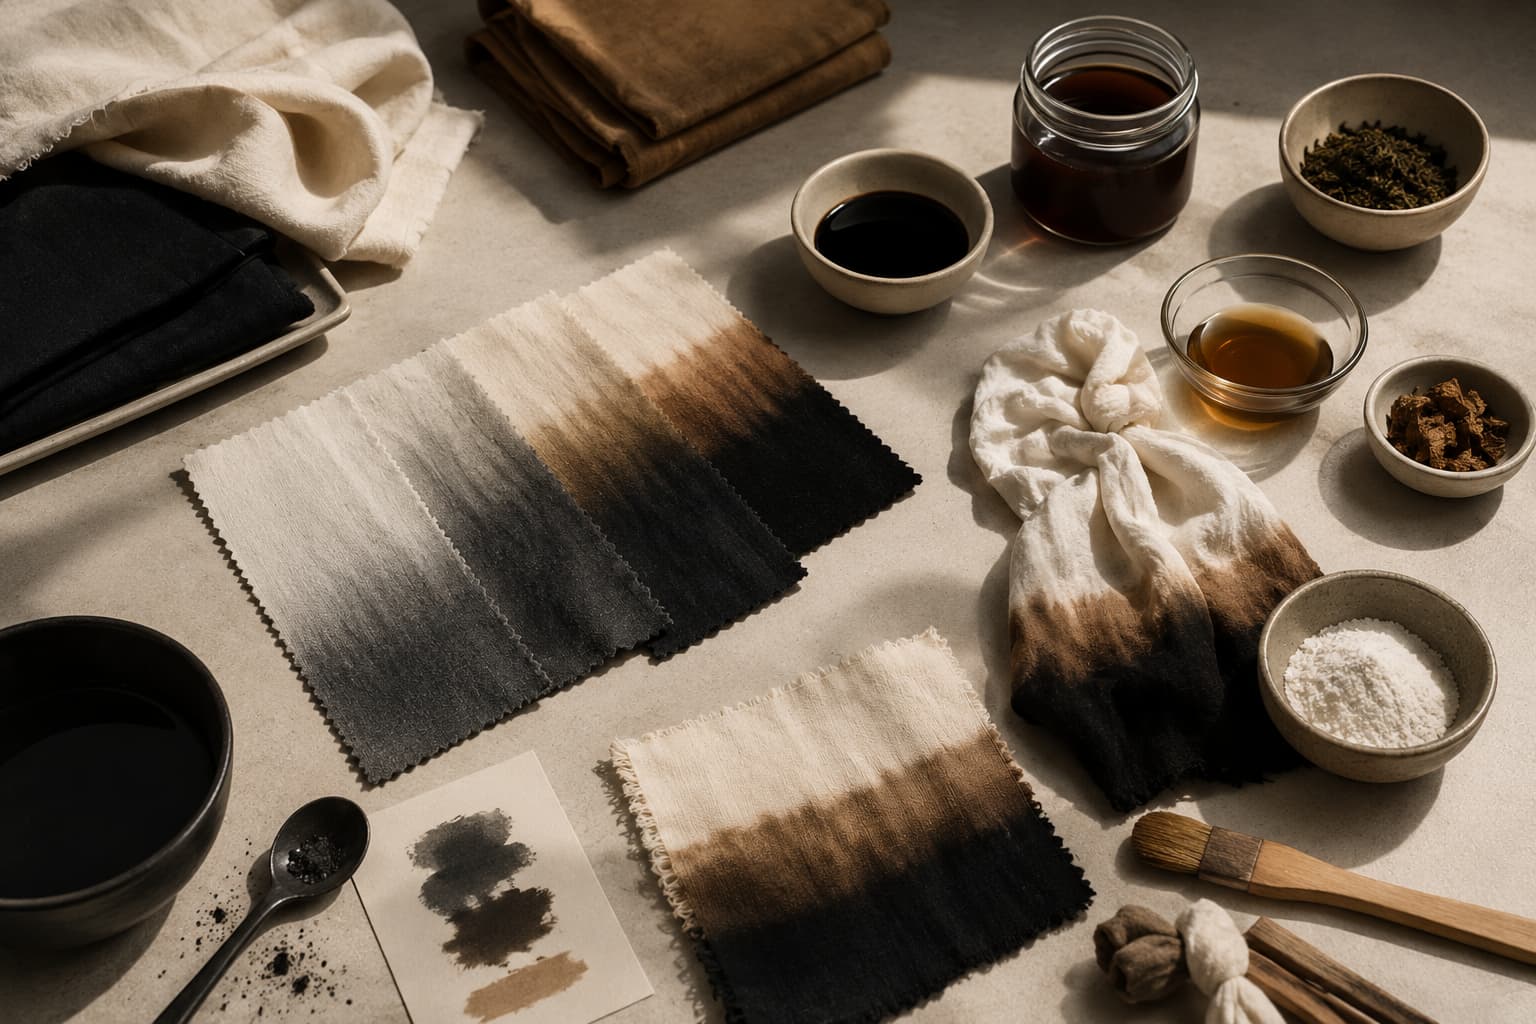
DIY clothing dye methods give you different ways to change, restore, or personalize garments at home. The right method depends on fabric, color goal, workspace, and comfort level. Some projects need full immersion. Others work better with spot dyeing, ombré effects, tie techniques, or careful color refreshing. Choosing the wrong method can lead to uneven results or wasted effort. A focused at-home dyeing system helps you match technique to garment. Dyeing feels much less intimidating when you know why one method suits a project better than another.
DIY clothing dye methods depend on fabric because every fiber reacts differently. Cotton may absorb color well. Polyester may need special dye. Wool and silk require more care. A practical fabric-specific dye method starts with the care label and dye instructions. Do not choose a method only because it looks easy online. Choose it because it matches the garment. Color Confidence Starts at Home: The Ultimate Guide on How to Dye Clothes at Home – Step-by-Step Guide and Tips helps organize those decisions before color touches fabric.
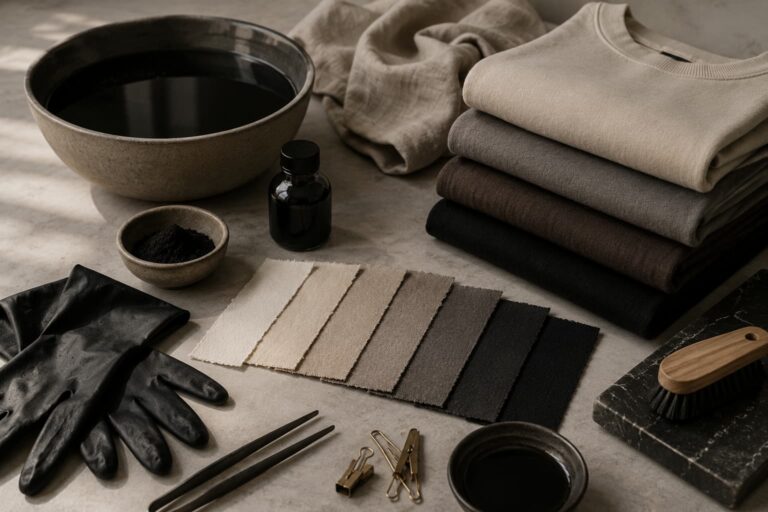
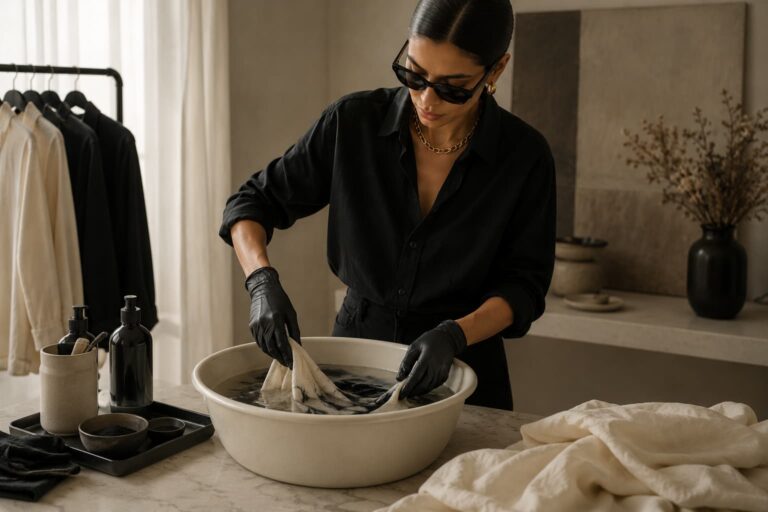
DIY clothing dye methods often begin with full immersion because it suits many solid-color updates. This method works when you want the entire garment to shift evenly. A useful solid color dyeing process needs enough water, steady movement, and proper timing. Crowding the garment can create streaks. Uneven stirring can create patches. Full immersion is good for refreshing faded basics, changing pale items, or deepening neutral pieces. It works best when the garment is clean, absorbent, and simple in construction.
Controlled effects can add personality, but they require planning. Ombré, dip dye, tie techniques, and section dyeing can look intentional when handled patiently. A thoughtful creative dye project starts with a sketch or test. Decide where color should begin, fade, or concentrate. Use similar fabric for practice when possible. Avoid trying complex effects on expensive garments first. These methods work best when you embrace variation. The result should feel designed, not accidental.
DIY clothing dye methods can also support color repair. Faded black garments, sun-washed pieces, and lightly stained clothes may benefit from deeper shades. A practical clothing color repair approach considers whether dye can realistically improve the item. Some damage cannot be hidden completely. Some stains may still show. Color Confidence Starts at Home: The Ultimate Guide on How to Dye Clothes at Home – Step-by-Step Guide and Tips helps set better expectations. Repair dyeing should improve wearability, not promise perfection.
DIY clothing dye methods are only successful when aftercare protects the result. Rinse thoroughly, wash separately at first, and follow fabric care instructions. A useful post-dye garment care routine reduces color transfer and fading. Let the garment dry fully before judging the shade. Store notes about timing, dye amount, and fabric content. Those notes make future projects easier. Good aftercare turns a dye experiment into a lasting wardrobe improvement.
The strongest method is the one that fits the garment and the desired outcome. Start simple, test first, and build skill slowly. A careful dye project planner keeps color choices realistic. For home dyeing basics, read the How to Dye Clothes at Home article. For practical process advice, continue with the Clothes Dyeing Tips article. For color rescue ideas, explore the Fabric Color Refresh article. Color Confidence Starts at Home: The Ultimate Guide on How to Dye Clothes at Home – Step-by-Step Guide and Tips helps make every dye method feel more manageable.


Leave a comment